Zoom Canvas Integration
Instructors can easily set up and configure Zoom class sessions inside of a Canvas course by using Zoom integration. To set up Zoom class sessions in Canvas, follow the instructions below.
Enable Zoom in Your Canvas Course
To enable Zoom from within your Canvas course:
1. Click on the course "Settings" navigation item (the last item in the left navigation).

2. On the course "Settings" page, there are tabs across the top. Click on the "Navigation" tab.
You should see "Zoom" in the list of items you can enable in your Canvas course navigation.

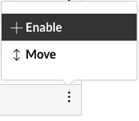
3. Click on the three dots to the right of the Zoom title to expand the menu to "Enable" Zoom. Click on "Enable".

4. MAKE SURE TO CLICK "SAVE" at the bottom of the Navigation page.

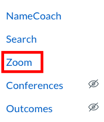
You should now see Zoom show up in your Canvas course left navigation menu.

Schedule a Zoom Meeting from Within Canvas
1. Click on the "Zoom" menu item (in your Canvas course left navigation) to launch the Zoom interface inside of your Canvas course.

2. From within the Zoom interface, click on "Schedule a New Meeting" and enter the meeting details, date, time, and duration of your class session.
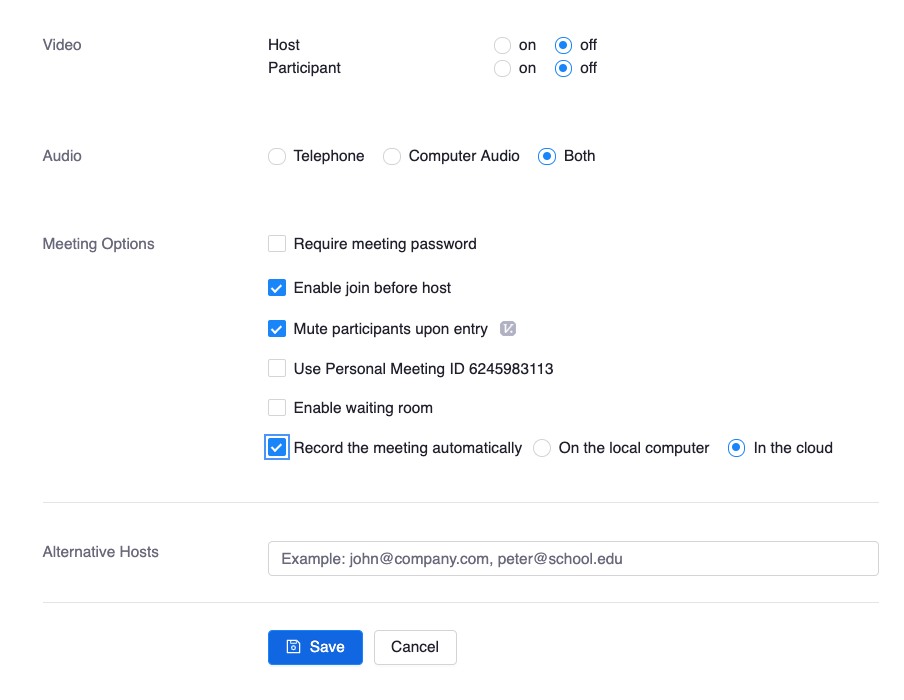
3. Select your Zoom meeting settings including:
- Enable join before host.
- Mute participants upon entry.
- If you will be recording your class meeting, we recommend that you set the recording to be stored "in the cloud".
 4. When finished, scroll to the bottom of the Zoom interface and click "Save". Your meeting should show up in the Canvas course calendar.
Give Students Access to Zoom Class Sessions
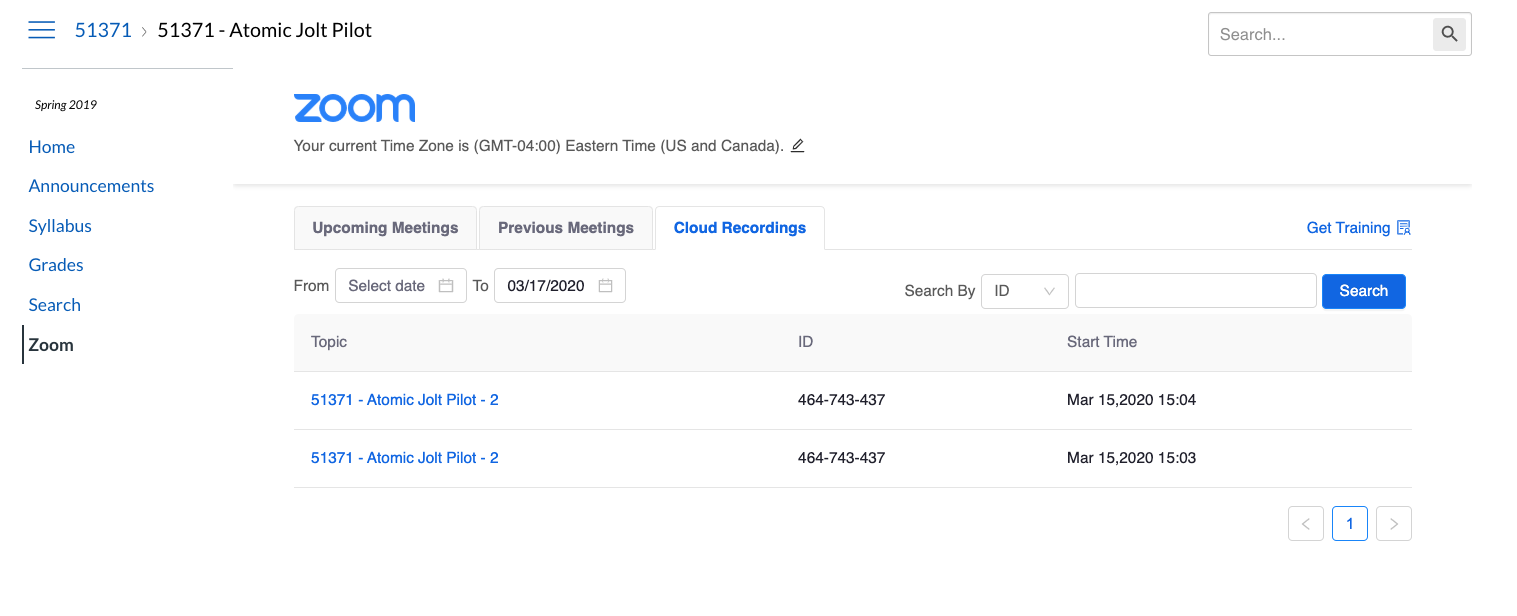
Students can click on "Zoom" in the Canvas course left navigation menu to find all of the class sessions you've set up through Zoom.
- They will also be able to find any Zoom session recordings you have saved in Zoom's cloud.

- IMPORTANT NOTE: During peak usage times, you may need to wait as much as 12-24 hours for the Zoom recording to be made available in the cloud.